3D Printed Prop Continued
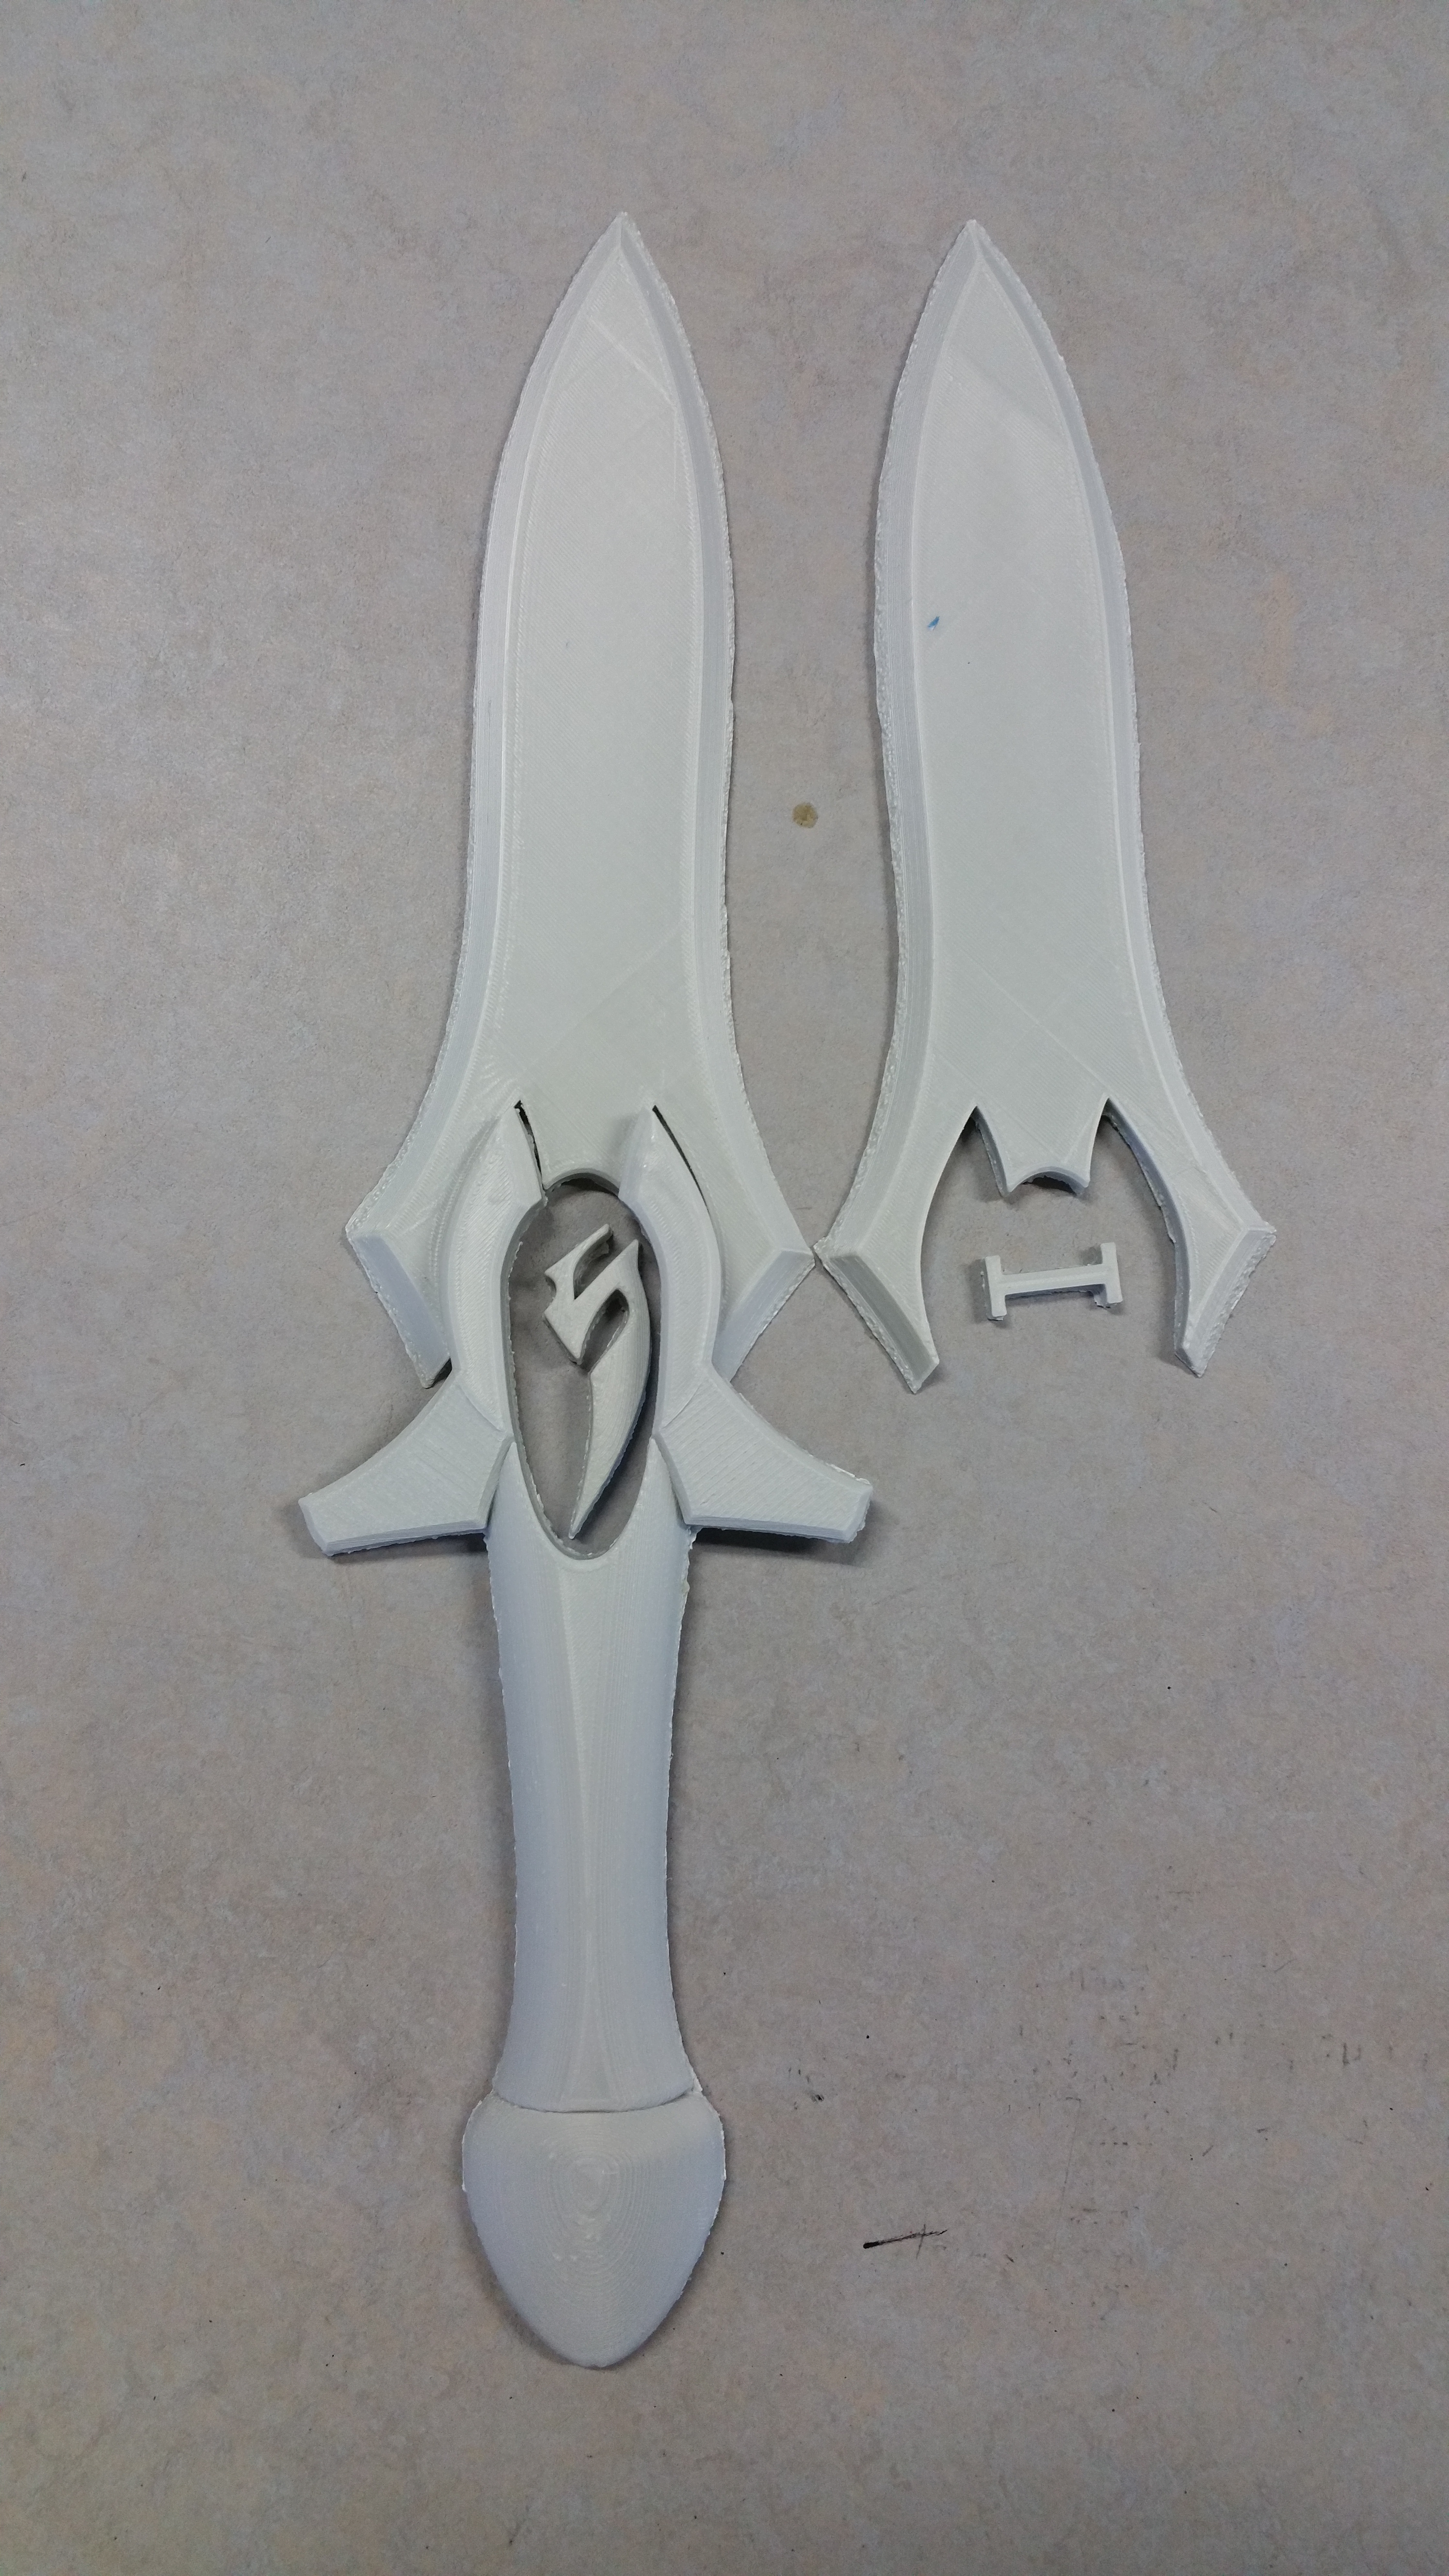
Once the parts were all printed I sanded them to get rid of the layer lines.
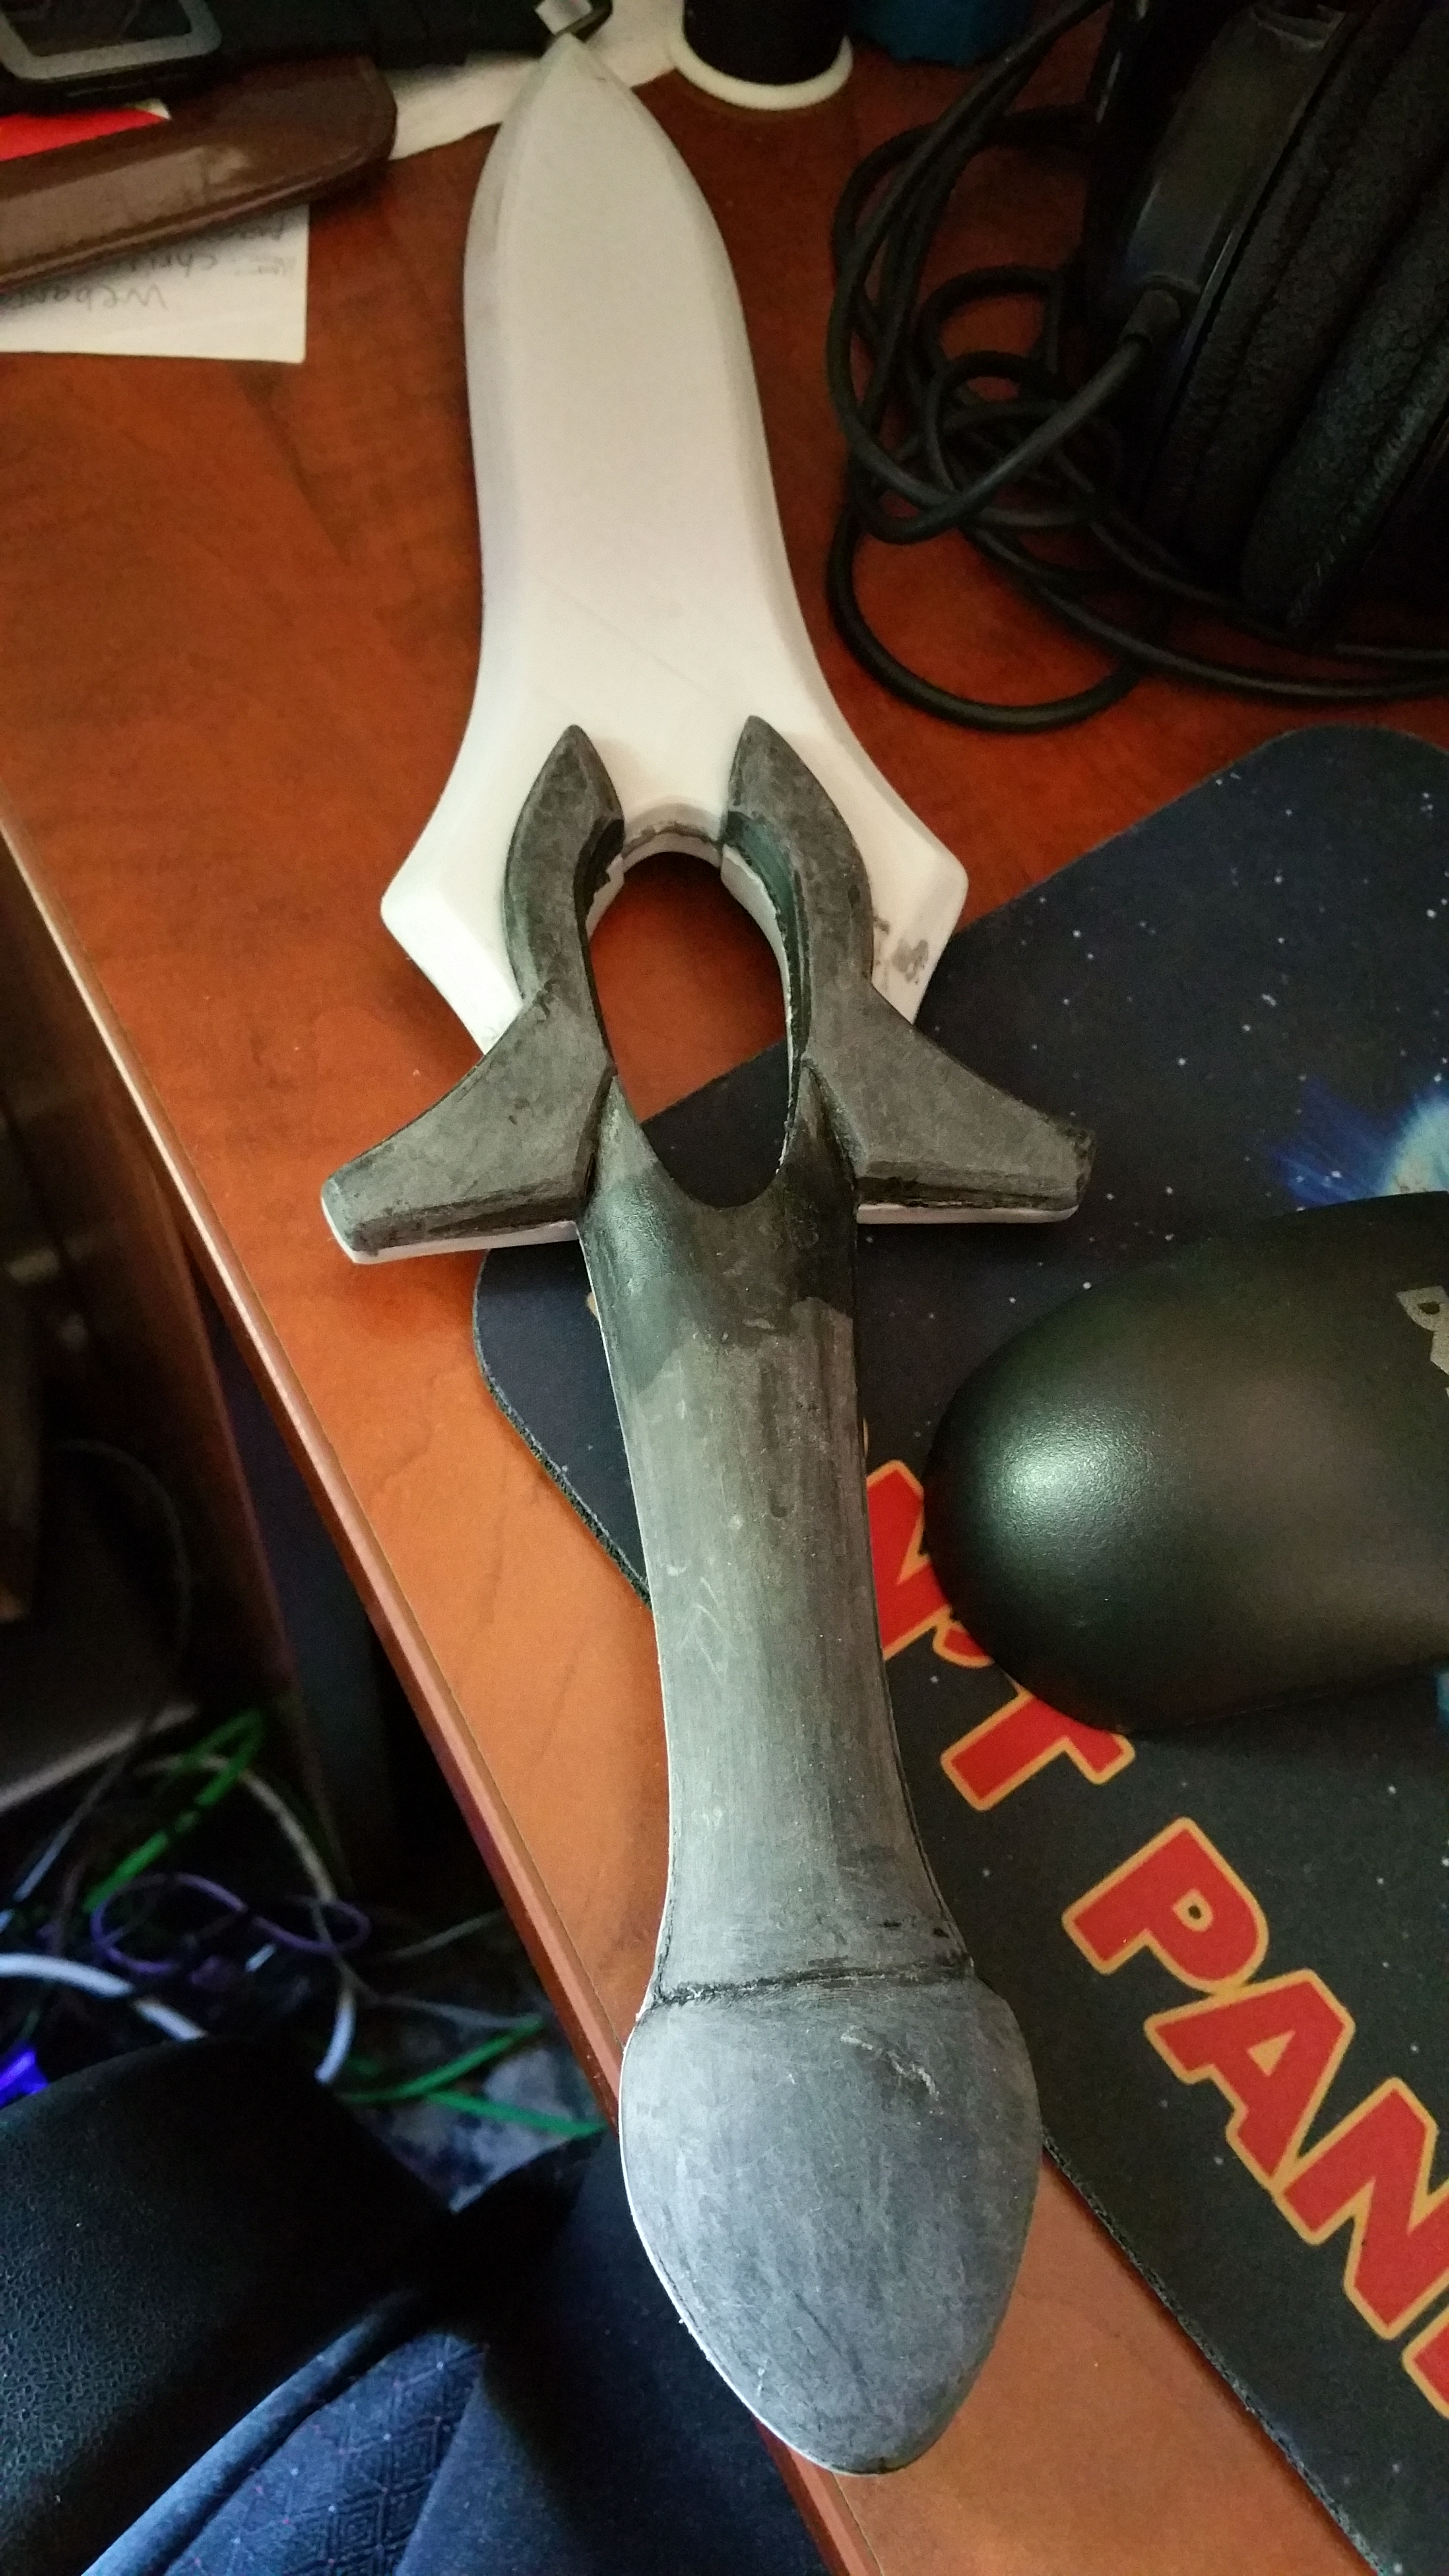
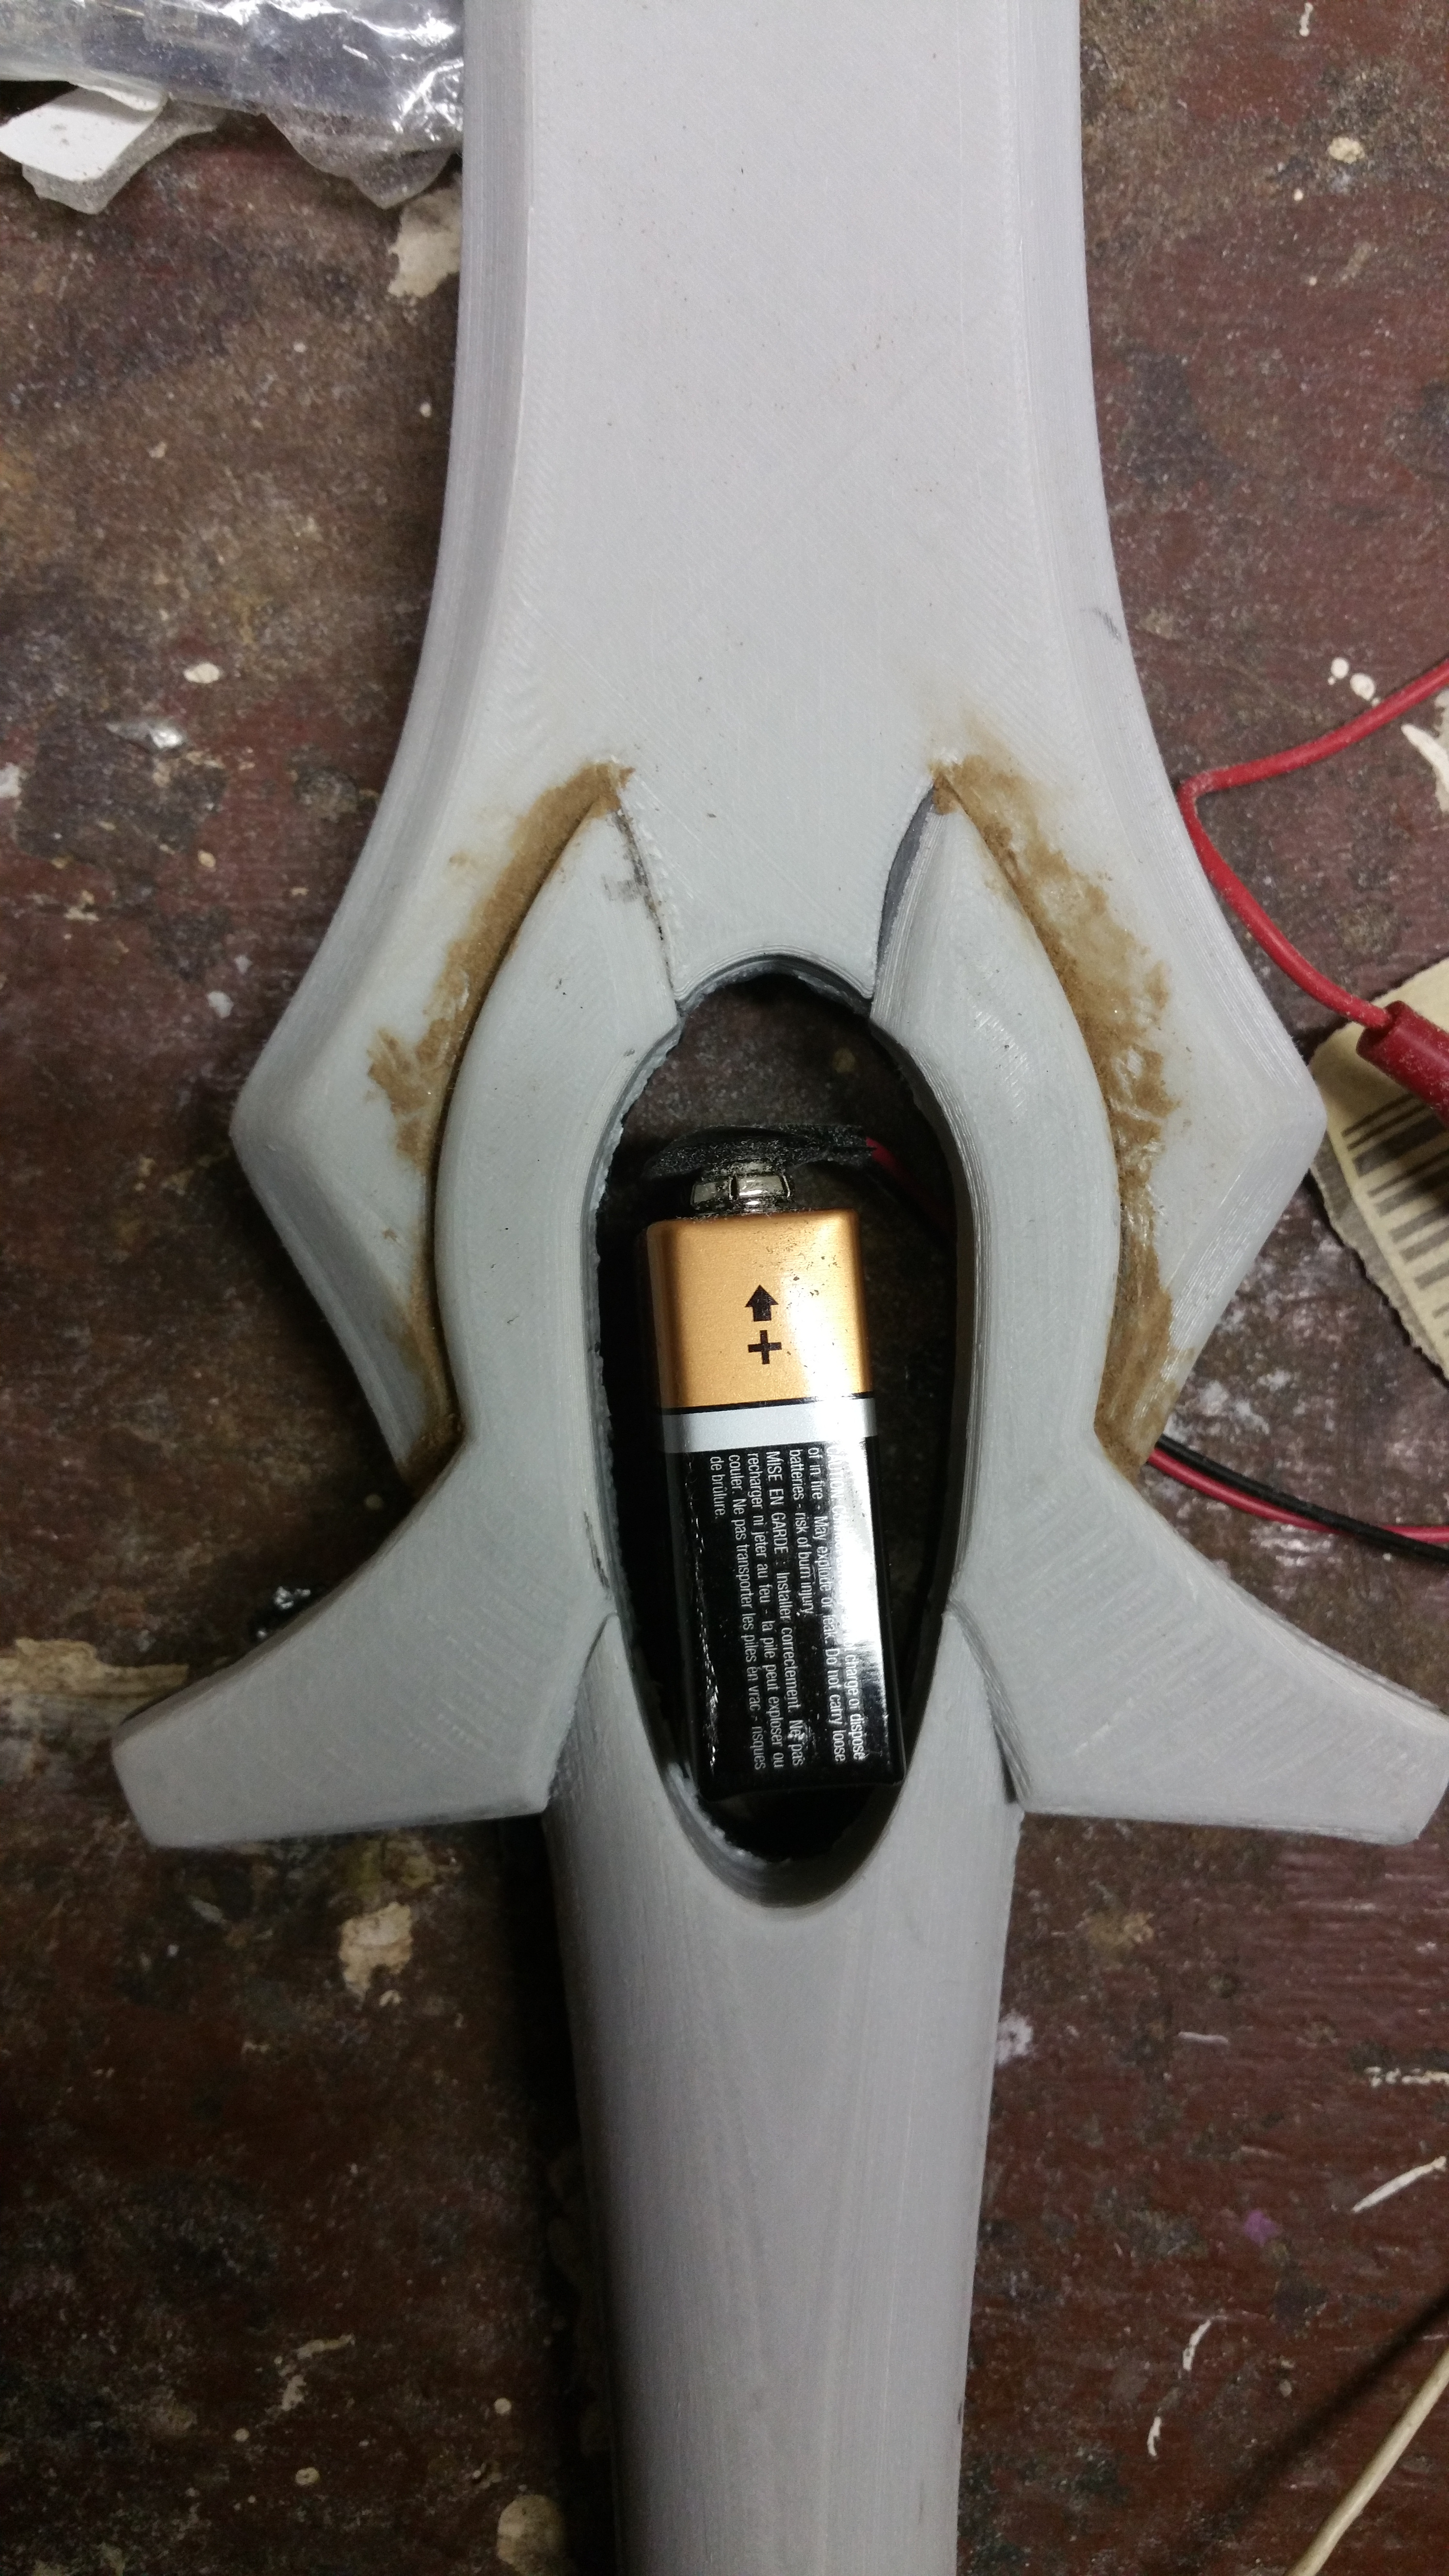
After they became smooth enough I glued all the pieces together, and used wood caulk to fill in the spots where the parts didn't match up evenly. Once cured I sanded everything so it looked more like one solid part. I also printed it big enough so that a 9V battery could fit inside the middle cavity.
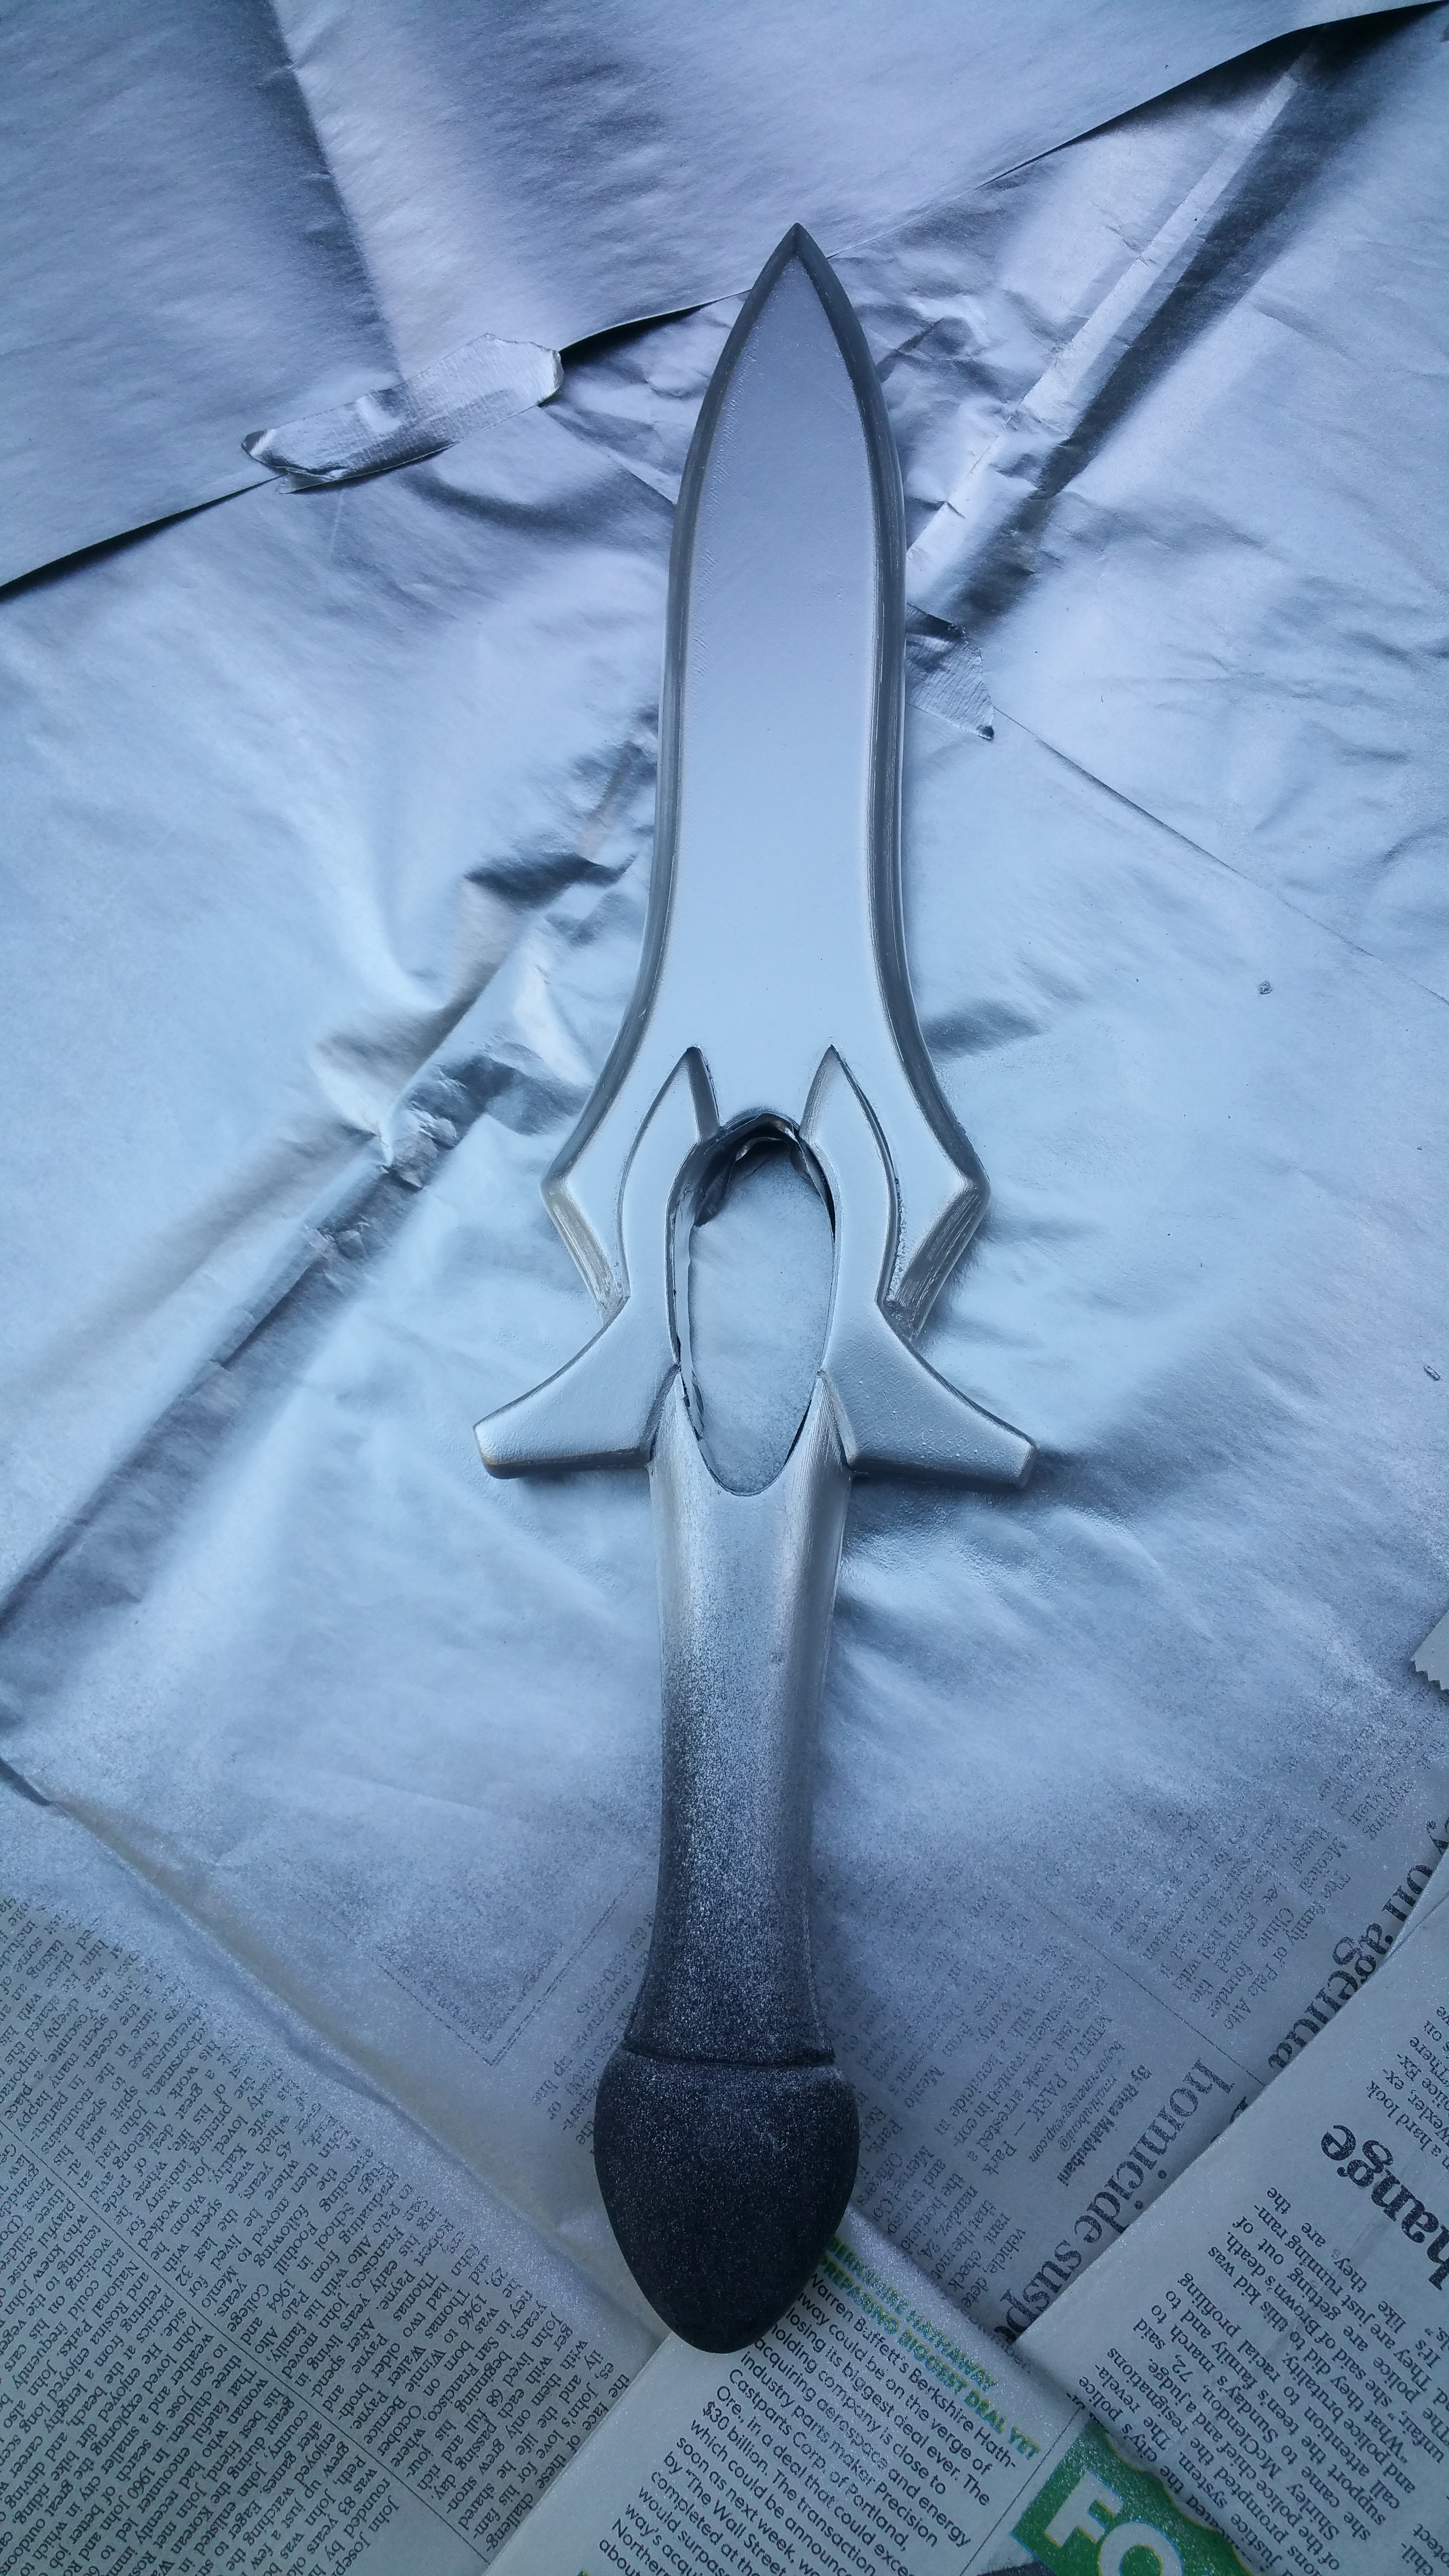
The next step after that was painting. I spray painted it silver with a couple coats, then once dried I applied a tape wrap around the handle and painted that black.
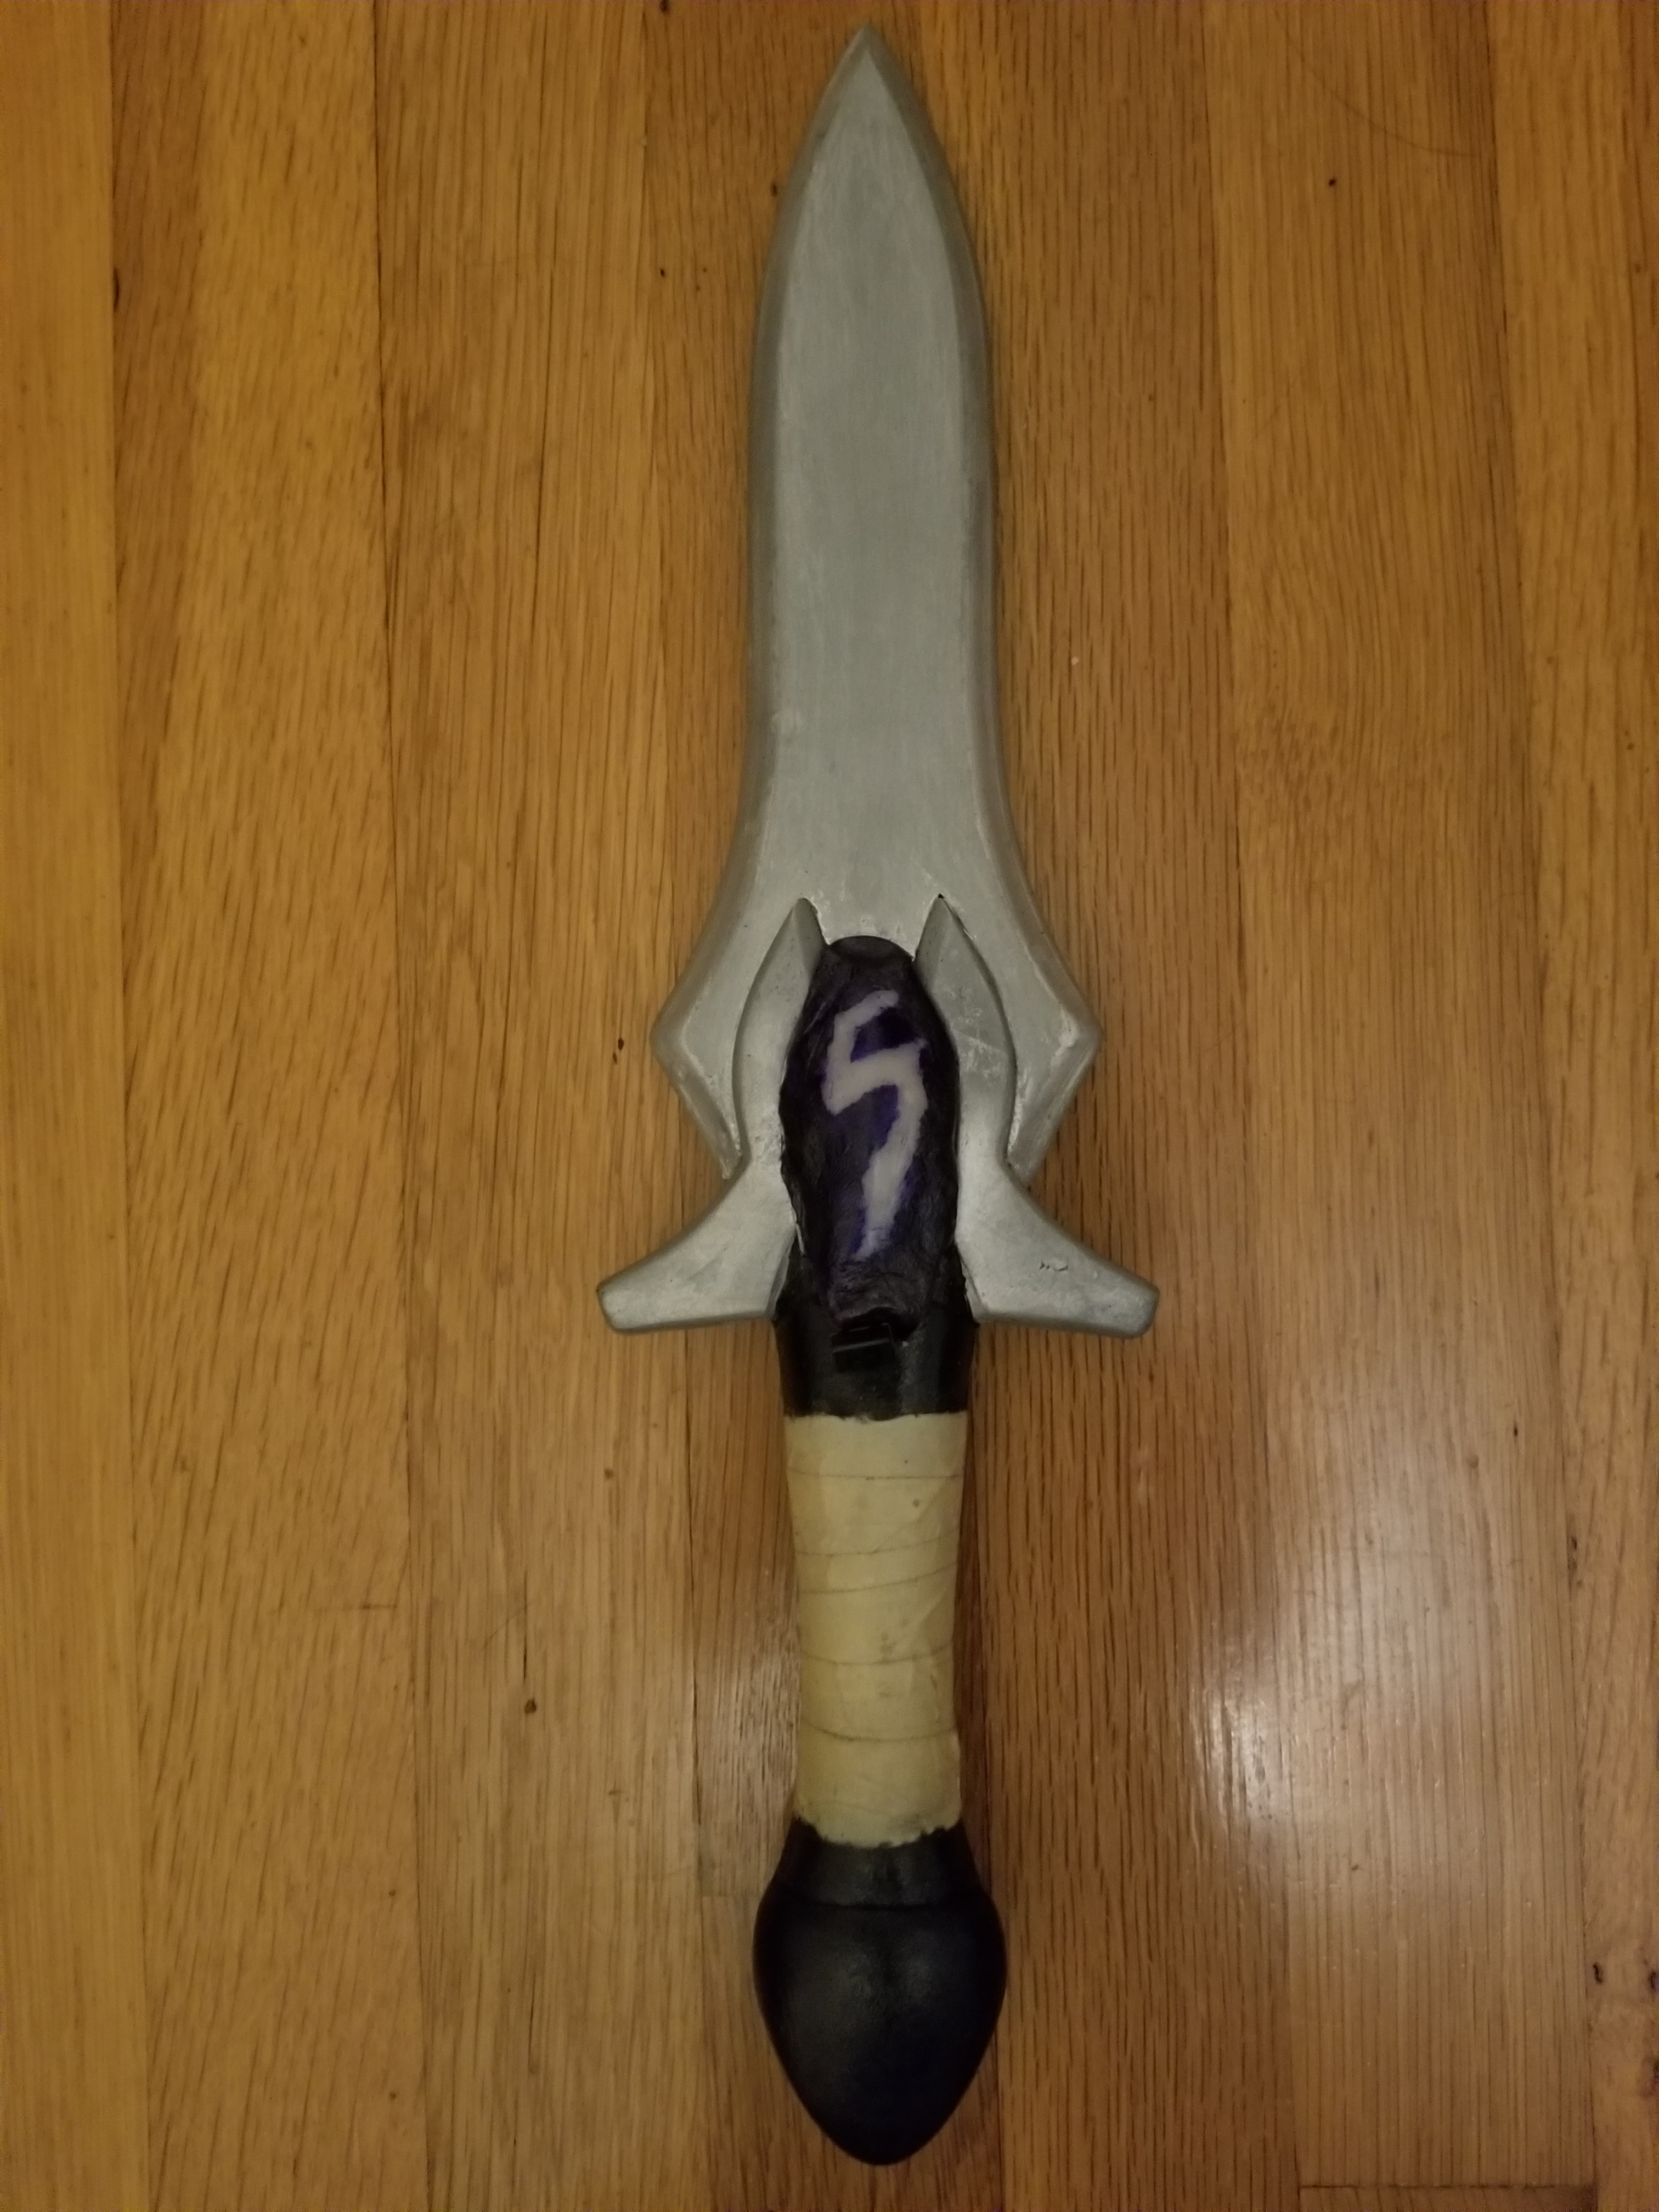
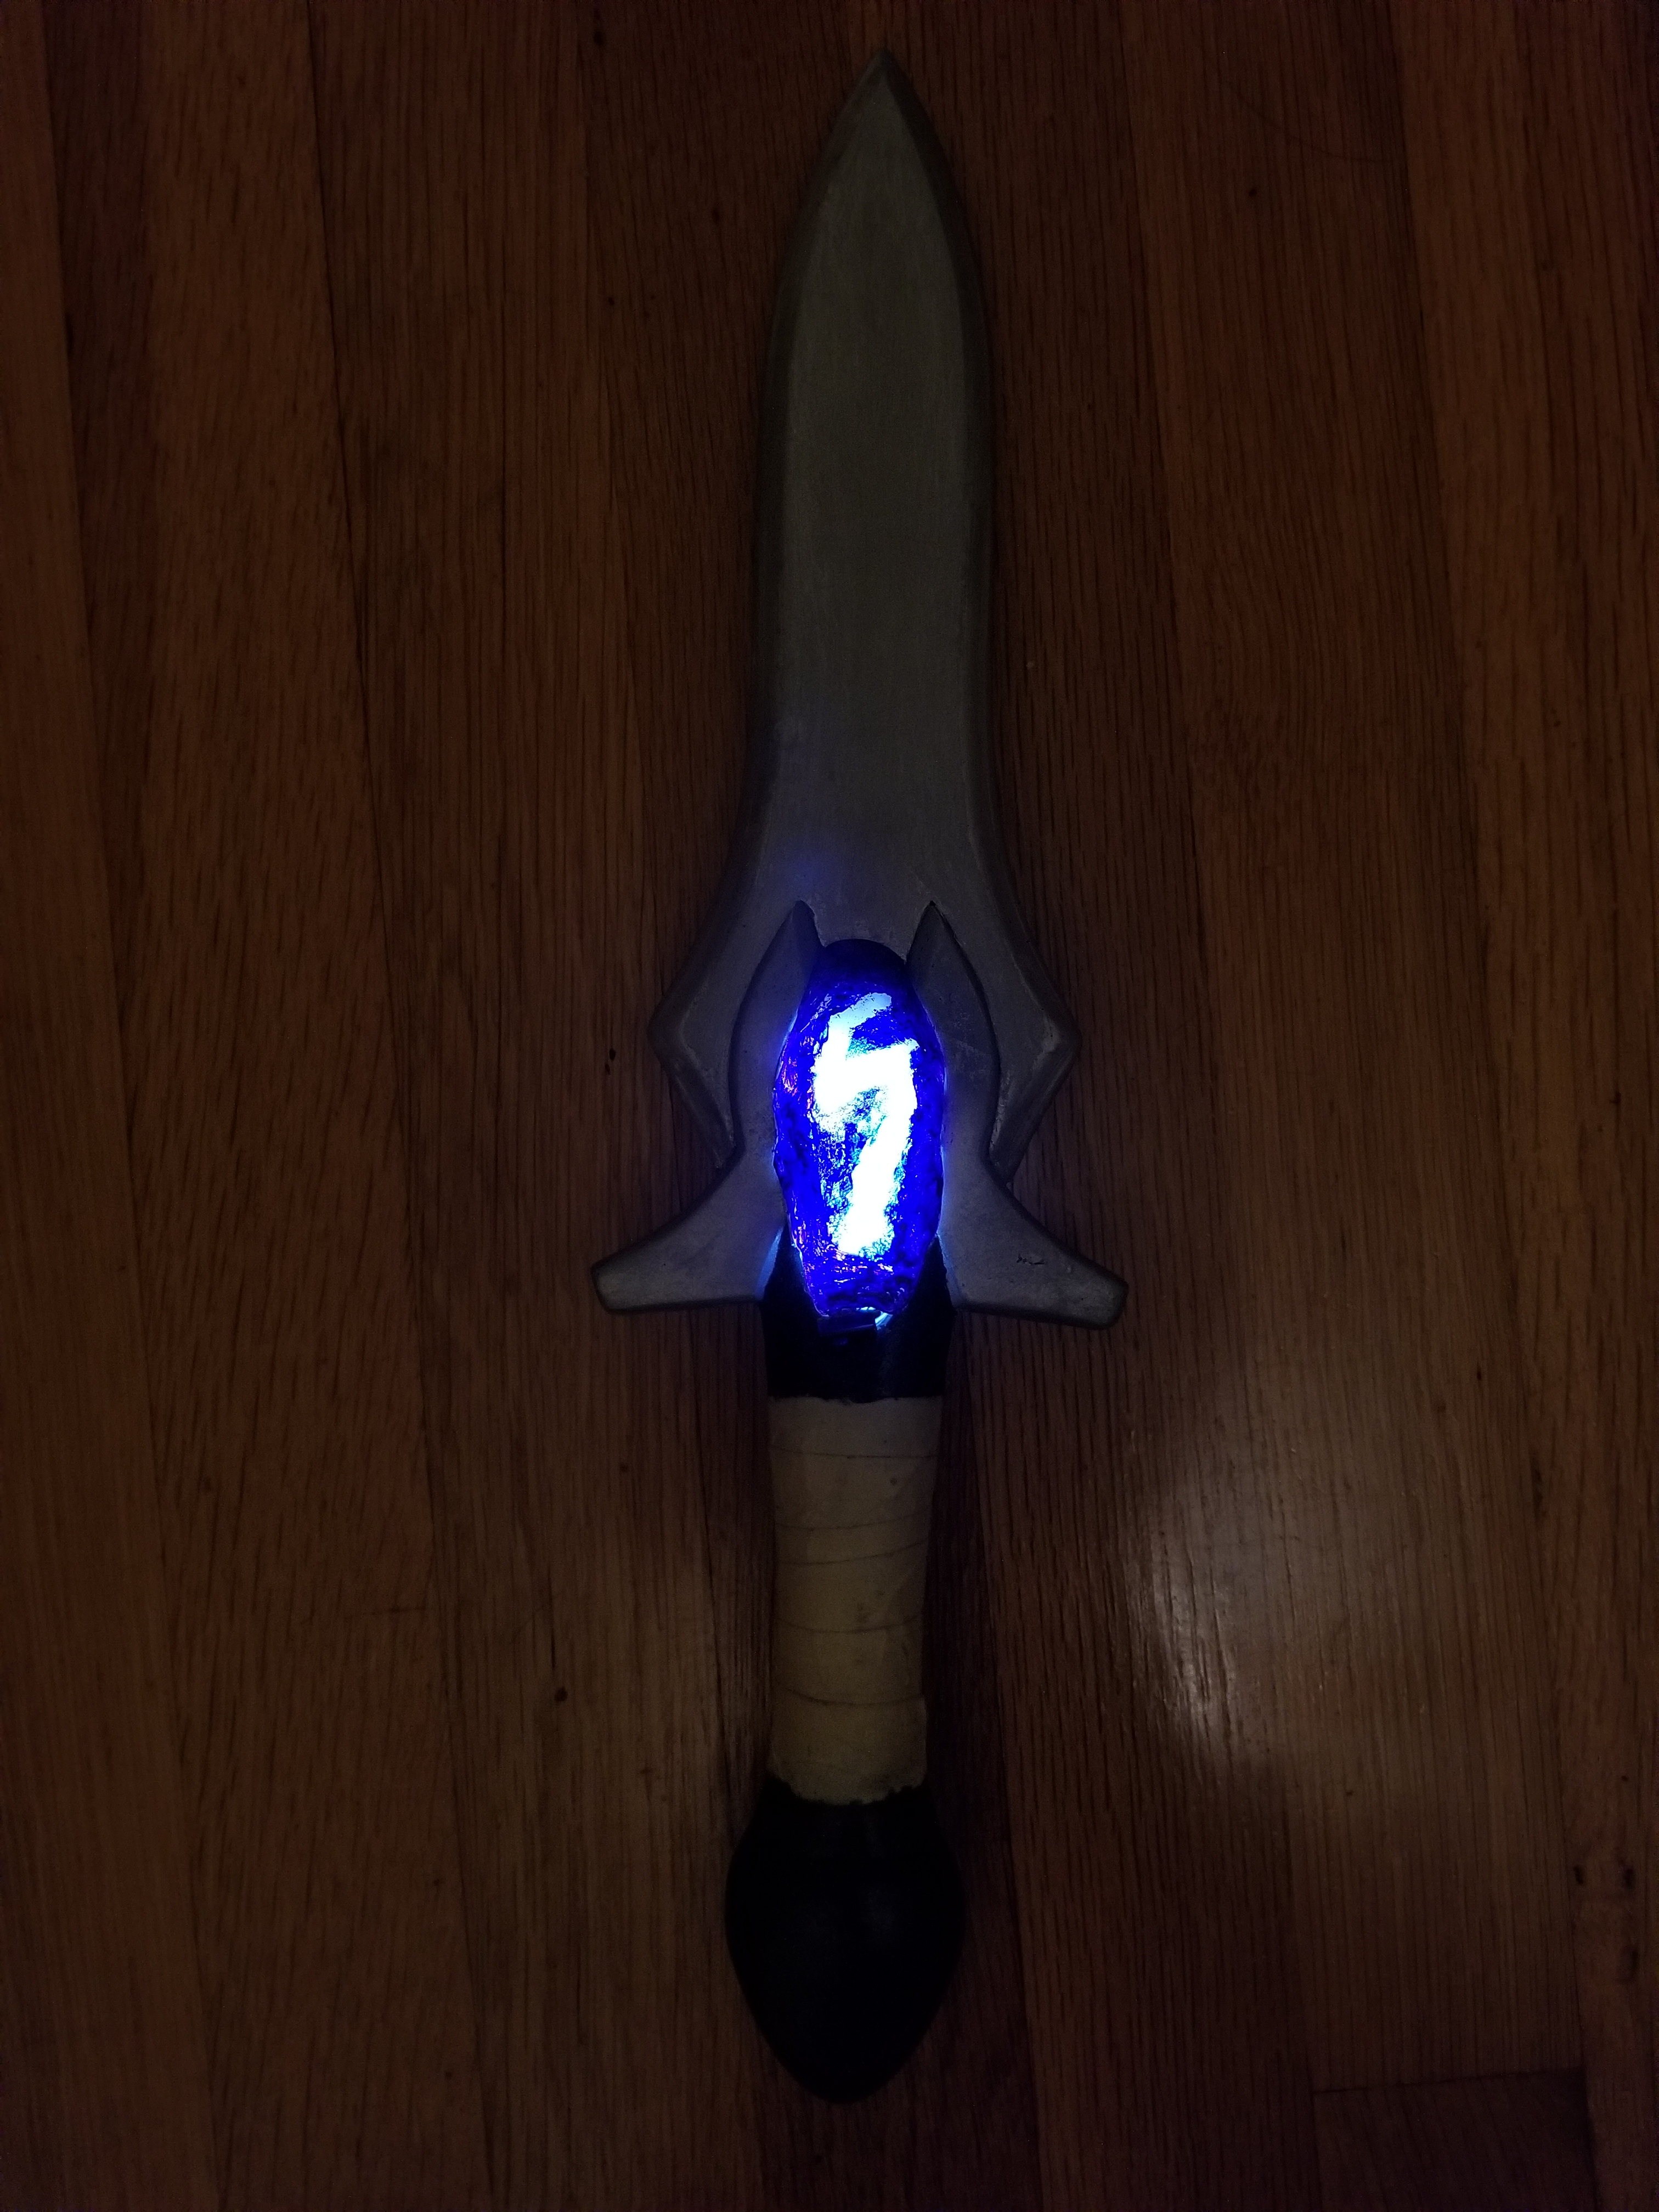
For the final touches I soldered together a circuit with LEDs and the proper resistors to the battery, and fit that inside the cavity. I also attached a switch to it which I had stick outside a gem case which I made with Instamorph.
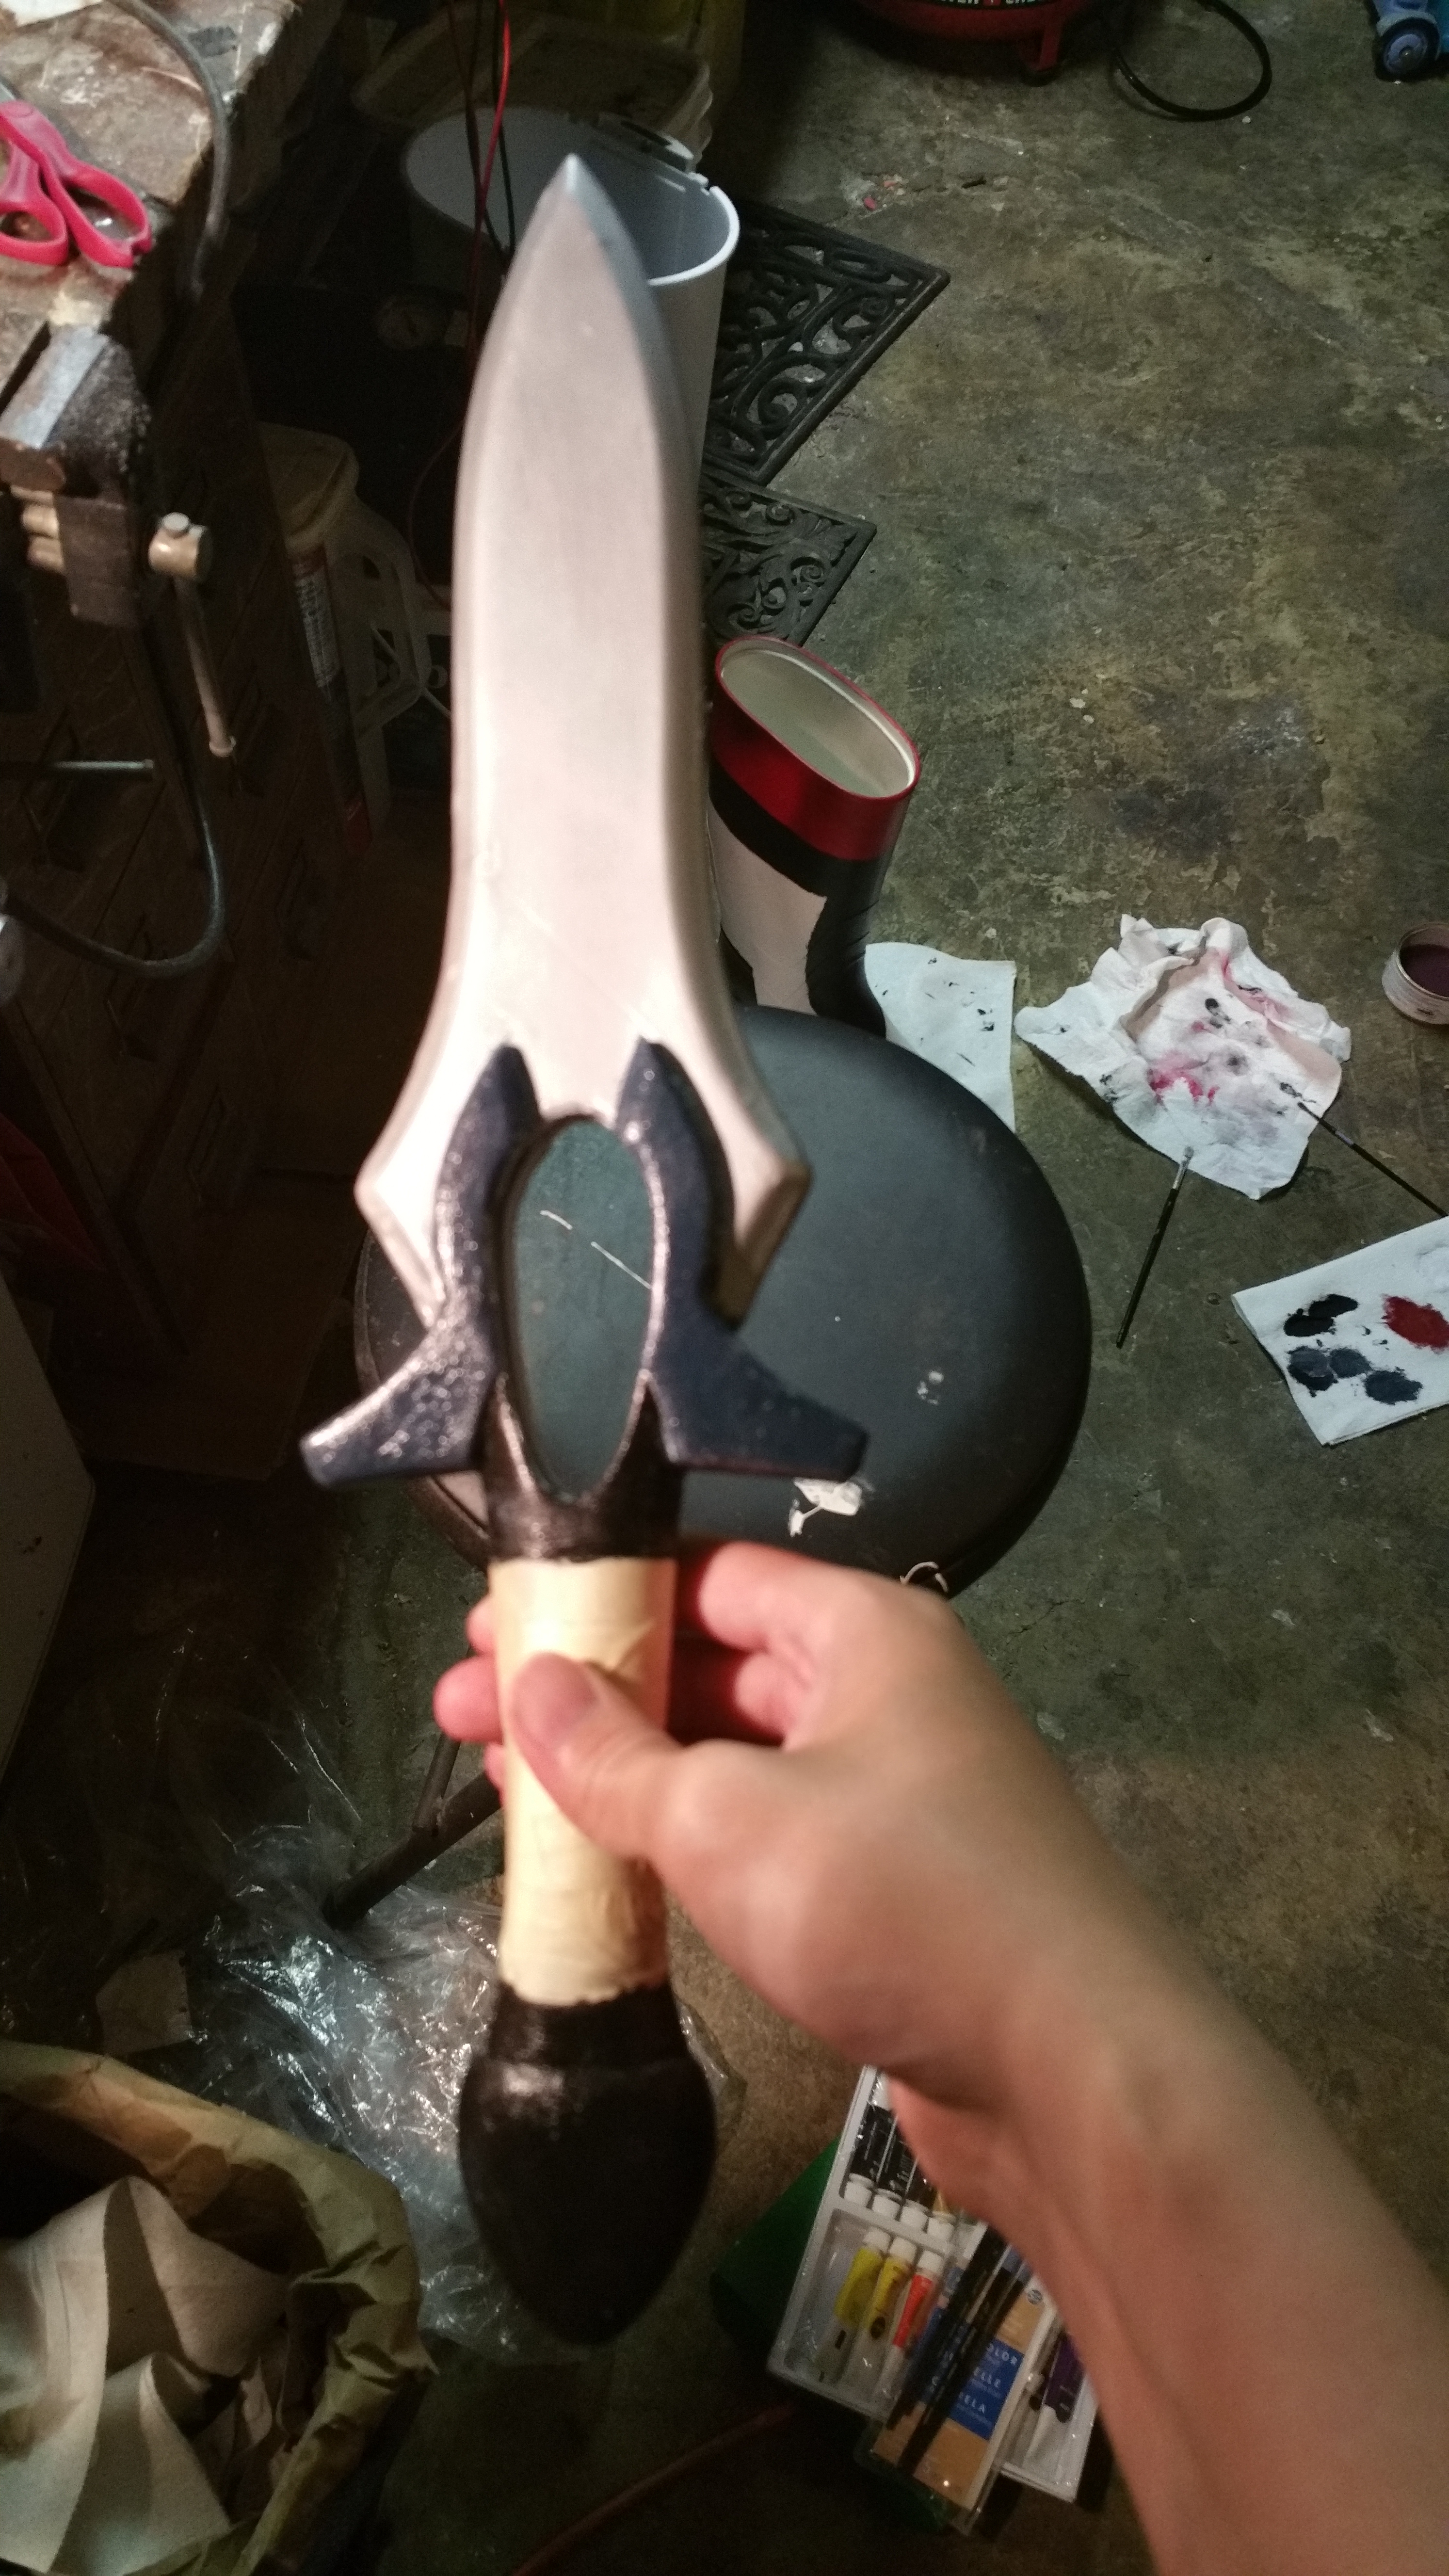
Once assembled I painted the gem case similar to the design in the show, and sealed all the paint on the dagger. The finished result came out quite nice, as shown in the last two images.